
At a Birmingham outdoor market, a visitor arriving from the car park might need to find the entrance. Someone who’s already inside might be looking for the food stalls or information desk. A banner that works for one of those visitors may tell the other very little.
Start with the route people will take through your event. Whether you’re organising a sports day, community festival or outdoor exhibition, mapping that route helps you decide what each banner should say and where it will be seen.
Walk the Venue Before Writing Your Banner Copy
Start where visitors are most likely to arrive. Follow the route to the entrance, then continue to registration, the main activity area and any other places people will need to find. Note where someone unfamiliar with the venue would have to choose between two paths or queues.
Mark those locations on a simple site plan. A direction banner should be visible before visitors reach the turn. A queue sign should be readable before people join the line. If visitors approach from more than one direction, check the wording and arrow from each approach before reusing the same artwork.
Ask the venue which fences or railings you can use. A spot may look clear on an empty site but disappear behind a food stall, an open gate or a queue on the day.
Give Each Banner One Job
Location
What visitors need to know
Example banner wording
Approach to the venue
Where to enter
Main Entrance →
Registration area
Which queue to join
Pre-booked Tickets
Junction inside the venue
Which way to go
← Food & Drink
Information point
Where to ask for help
Event Information
Activity area
Which zone they’ve reached
Community Sports Zone
Use the same names on your banners, event map and booking emails. If the email says Gate B, use Gate B on the banner so visitors can match the sign to the instructions they received.
Place Sponsor Banners Where Visitors Have Time to Look
A welcome area, spectator zone or gathering point gives people more time to recognise sponsor names. When several logos share one banner, agree on the order and prominence with sponsors before laying out the artwork. Ask for the original logo files so each one prints clearly.
Check How the Artwork Will Look Outdoors
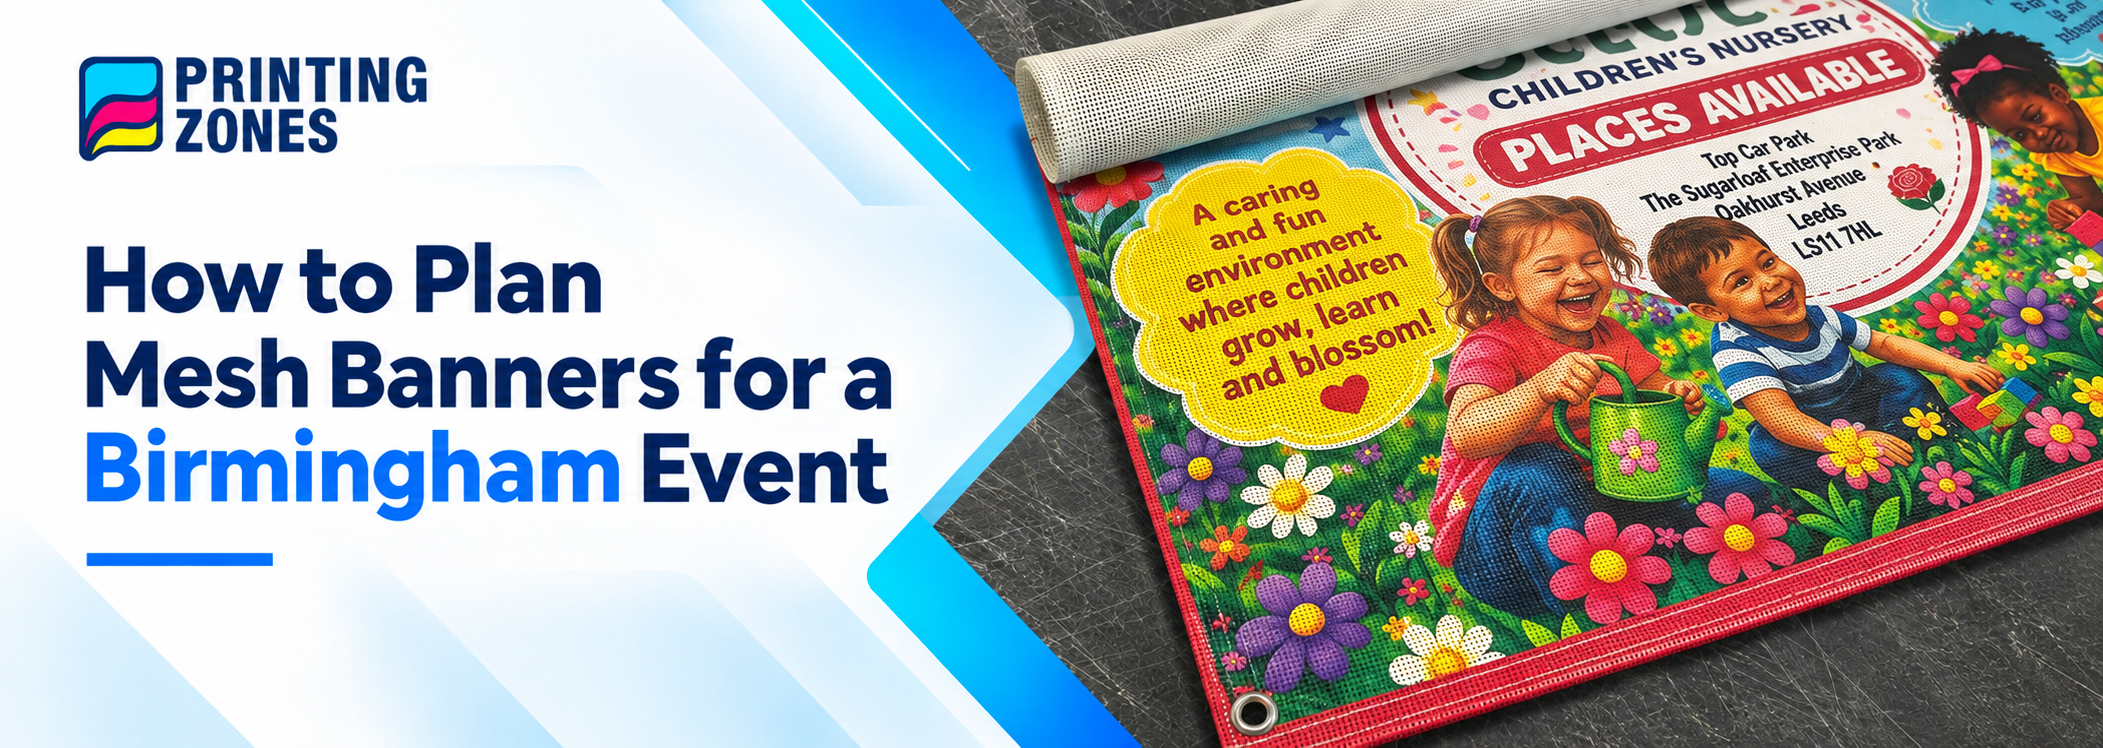
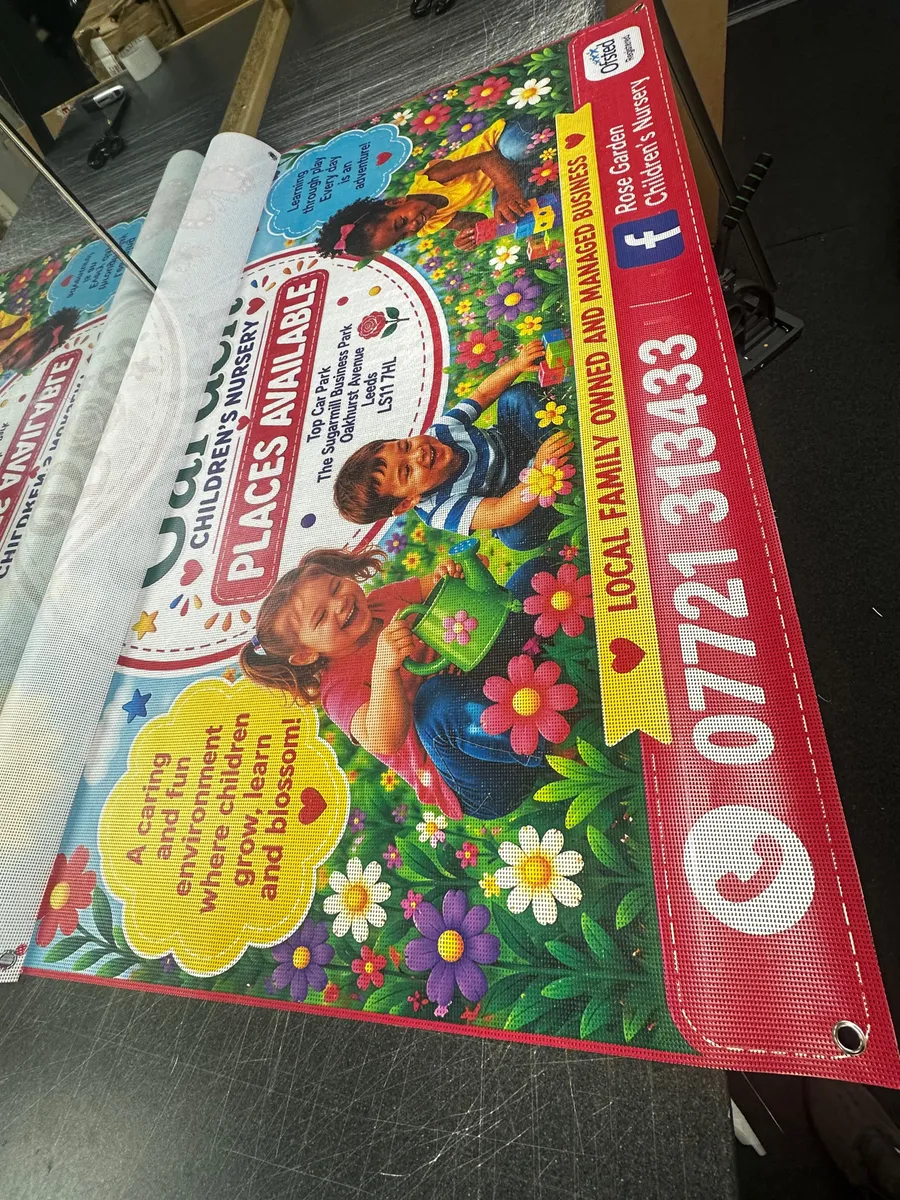
Mesh has small openings that let air pass through the printed surface. What sits behind the banner can show through, so check the background as part of your artwork review. A dark fence, bright stall or row of parked vehicles can change how clearly the message reads.
Give the key words and arrows strong contrast. Then show the design briefly to someone who hasn’t seen the site plan. Ask them where they would go after reading it. If they hesitate or follow the wrong arrow, adjust the layout before sending the file to print.
Create an Artwork Checklist for Event Day
Keep a single list that connects each print file to its location. Include:
Banner location — Identify the fence panel, gate or area on the site plan.
Final wording and arrow direction — Check both from the visitor’s approach.
Artwork filename — Use names such as gate-b-main-entrance or food-area-left-arrow.
Quantity and finish — Record how many copies you need and confirm the display requirements with the venue.
Delivery details — Include the address, recipient and date the banners need to be on site.
Share the list with whoever will put up the banners. They’ll be able to match each design to its position without guessing which entrance or junction it was made for.