
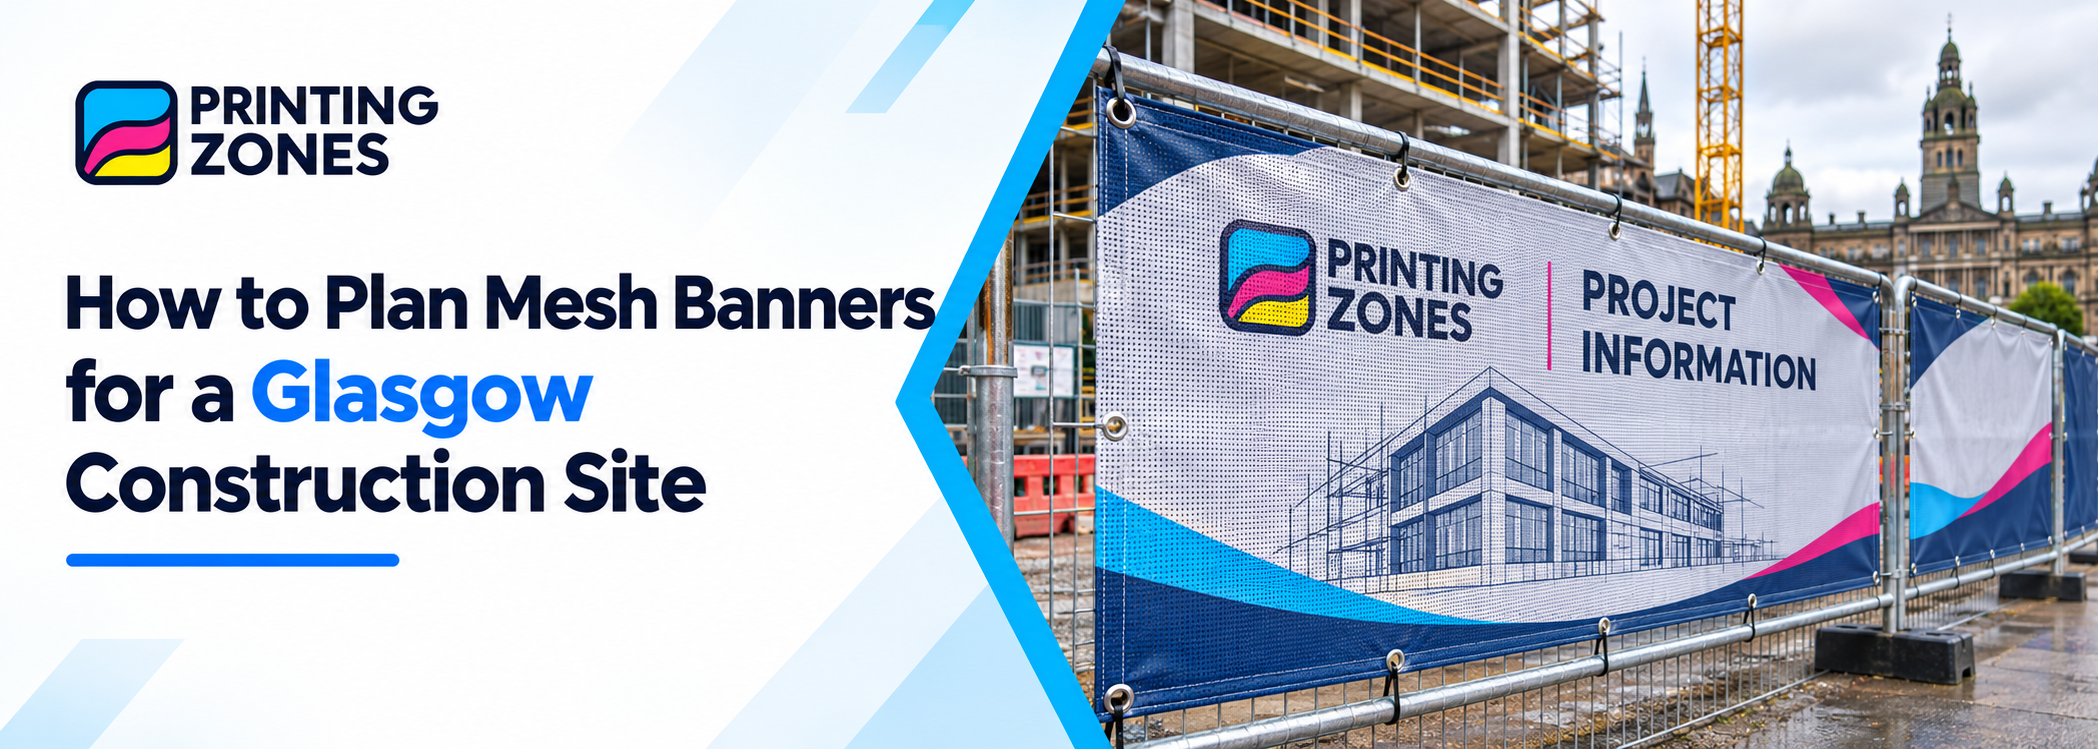
How to Plan Mesh Banners for a Glasgow Construction Site
Construction fencing offers space to introduce a project, identify the companies involved and explain what visitors need to know. A well-planned mesh banner can make that space useful while keeping the message consistent across the site.
Before ordering, consider how the fencing will be used throughout the project. Gates may move, access routes may change and different sections may become visible as work progresses. Planning around these changes helps you avoid artwork that becomes confusing or difficult to reuse.
This guide explains how to prepare construction mesh banners for a Glasgow project, from checking fence panels to organising artwork and delivery.
Start with a Fence Layout
Walk the proposed display area before preparing the design. Record which sections are available for banners and identify gates, corners, existing notices and access points.
Photographs are useful, particularly when your designer or print supplier cannot visit the location. Take both a close view of each proposed position and a wider view showing how people approach it.
Create a simple list of banner positions:
Position
Main purpose
What to confirm
Public-facing fence
Project identity
Visibility from the approach
Site entrance
Contractor identification
Correct entrance location
Visitor access point
Arrival instructions
Approved wording and route
Separate fence section
Business promotion
Available fixing points
Confirm permission to use each position before ordering. The installation plan should also account for the suitability of the supporting structure and site conditions.
Give Each Banner a Clear Purpose
A construction banner can carry several pieces of information, but they should follow a clear order.
For example, a project introduction might prioritise:
The development or project name
A short description
Contractor or developer branding
One relevant contact method
An entrance banner may need different content, such as a company name and approved visitor instructions.
Trying to combine detailed project information, several contact numbers and a long list of services can make the main message harder to find. Decide what the viewer needs to understand first, then build the layout around that.
Keep Essential Information on Individual Panels
A continuous design across several fence panels can look effective, but it needs careful planning.
If a company name stretches across multiple banners, opening a gate or moving a panel could interrupt the wording. Important information should remain understandable when each banner is viewed separately.
Use Repeated Branding
Repeating a logo or project name on individual banners can help maintain recognition along a longer fence line.
The layouts can still feel connected through consistent colours, typography and graphic elements.
Separate Changing Information
Contact details, access instructions and project messages may change during the work. Place information that is likely to need updating on a separate banner where practical.
This makes it easier to replace one display without revising the full set.
Check Corners and Gates
Avoid positioning a key message across a corner where viewers cannot see the whole design at once. Treat gates as separate display areas and confirm that any banner will work with their operation.
Design for People Passing the Site
Think about how viewers will encounter the banner. Someone walking beside the fence has more time to read than someone seeing it briefly from a distance.
Use a clear headline, strong contrast and enough space around the main elements. Small paragraphs and detailed background images can reduce readability.
For a public-facing project banner, a useful order is:
Project or business name
Short supporting message
Relevant logo or partner branding
One clear next step
Review the design at a reduced size. If the main message becomes difficult to recognise, simplify the artwork before printing.
Consider the Background Behind the Mesh
Mesh contains small openings, so the surroundings can remain partly visible through the printed surface.
Equipment, materials, vegetation and changes in light may affect the appearance of the display. A design that looks clear on a white screen may appear different when installed on fencing.
Use bold shapes and readable lettering. If photographs are included, keep important text in a separate, uncluttered area.
Where an opaque surface is essential, discuss the display requirements with your print supplier before choosing the material.
Choose Finishing Around the Installation
The fixing method should be agreed before the banner is ordered.
Eyelets provide attachment points, hemming reinforces the edges, and pole pockets may suit an appropriate supporting rail or pole arrangement. The right choice depends on the planned display.
Keep important artwork clear of the finishing area. Logos, contact details and arrows should not sit where fixing points or folds could interfere with them.
Mesh allows some airflow, but it should not be treated as windproof. Have the banner support and installation method checked for the location and conditions.
Promotional banners should also leave required site notices, access routes and emergency information clearly visible.
Prepare Contractor and Partner Logos Early
Construction projects may involve several organisations. Collect approved logos before the layout is prepared and agree on how they should appear.
Ask each organisation for a suitable quality file rather than copying a small logo from a website or screenshot.
Confirm:
Which logos must be included
Their order and relative prominence
Any required clear space
Approved colour versions
Whether the artwork needs additional approval
One person should coordinate the final feedback. This helps prevent conflicting revisions or an outdated logo reaching production.
Organise Artwork Files by Position
Clear file names make a multiple-banner order easier to manage.
Use names that identify the purpose or location, such as:
Public-Fence-Project-Branding
Main-Gate-Contractor
Visitor-Entrance
Developer-Contact
Keep a matching quantity list and specify the finishing required for each design. If several banners share the same artwork, make that clear.
Before submission, check spelling, contact details, project names and any directional instructions. Confirm that the approved file is the version being uploaded.
Plan for Changes During the Project
The most useful banner arrangement may change as the site develops.
Consider whether banners will need to be relocated, stored or reused. A project identity banner without temporary dates may remain useful longer, while time-sensitive messages can be printed separately.
Before reusing a banner, inspect its condition and confirm that the new position and fixing method are suitable. Replace outdated information so the display continues to give visitors accurate guidance.
Arrange Delivery to the Right Recipient
A construction site address may need more detail than a postcode.
Provide the full delivery address, a named recipient and any relevant access instructions. Confirm whether deliveries should go to the site itself, a contractor’s office or another staffed location.
Check production and delivery arrangements against the project schedule before ordering. Artwork revisions and incomplete delivery information can affect when an order is ready to be received.
Ordering Construction Mesh Banners from Printing Zones
Printing Zones is based in Manchester and supplies custom mesh banners to Glasgow through UK-wide delivery.
You can configure your banner requirements, choose finishing and upload artwork online. An email-later option is available if your files are still being prepared.
Free design support covers text and background layouts, with professional design support available for more detailed work.
For service information and ordering guidance, visit our [mesh banner printing Glasgow page](/mesh-banner-printing-glasgow/). You can also contact Printing Zones to discuss a project involving several designs or display positions.